
|
Free shows, pit access, getting up close and personal with your favourite artists, what's there not to love about concert photography? Getting into the field may seem intimidating at first, but the key is to get started. Here are 5 tips that we've learned along our journey that will help kick start your career. 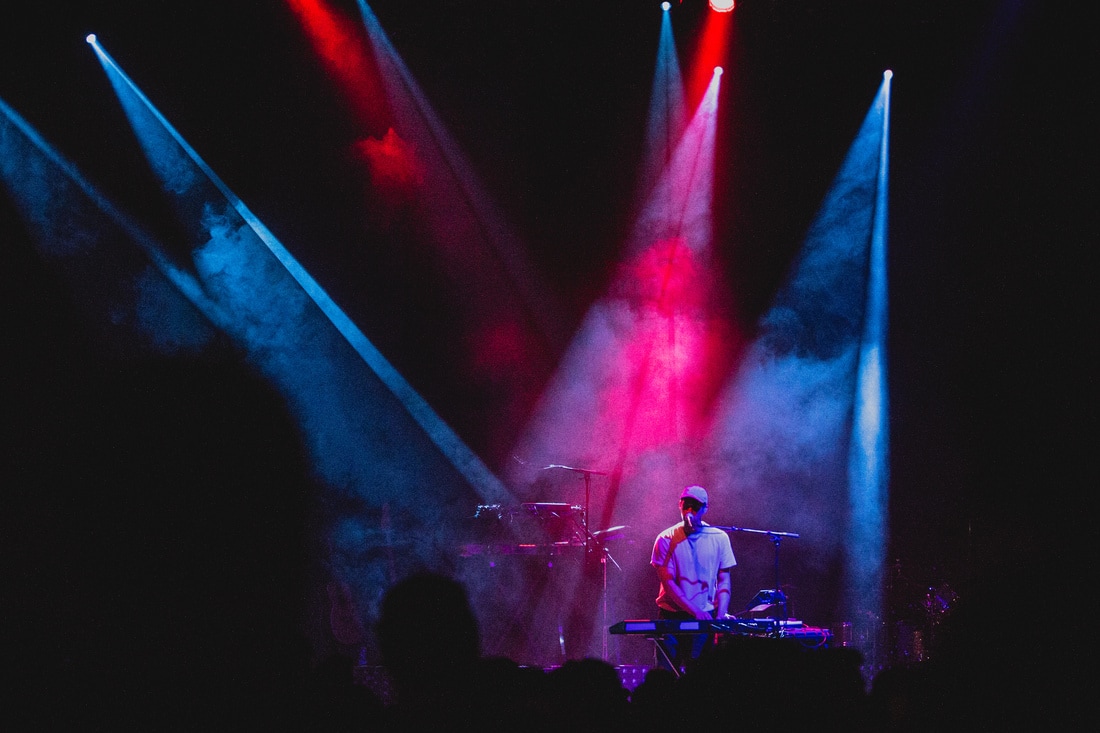 Michl opening for BROODS at Danforth Music Hall - 05/31/2017 1. Have work samplesMy first encounter with live music photography started from humble beginnings (read more about it here). Whether you are searching after an artistic role, or any role in that matter, you need samples of your work to show that you can provide value to the organization. After a slur of rejections from cold emailing, I decided that in order to land a gig I needed to prove to whom I was contacting that I know my stuff. So how do you show your work when you don't work to do? I started off photographing live events at a local pub. It wasn't a sold out arena show but it was a starting point where I could practice my skills of capturing emotion and excitement in a low light environment. I was then able to use these samples for my "portfolio" to send out. 2. Getting the passBefore you can step into a venue with a DSLR around your neck, you're going to need permission to do so. Concert promotors are usually reluctant to give you photo pass unless you're associated with a publication or on a photo assignment. Instead, I approached managers of small bands/musicians and offered to send in my photos for free in return for permission to photograph the show. The more shows you shoot the more you meet like minded people and eventually build up your network of concert promoters, publicists and other photographers. 3. EquipmentGetting the right lighting is the starting foundation of all good photos, but dark venues with tricky strobes makes it difficult to capture the perfect photo. Although I argue time and time again that it's not the equipment that makes a photographer, in this case you do want to find a lens with a low aperture in order to be as sensitive to light as possible. My personal favourites are the Canon 50mm f/1.4 and Tamron SP 70mm-200mm f/2.8. Ideally, anything under 4.0 should be sufficient to get you started. 4. SettingsFirst things first, make sure you shoot in raw!!! I've photographed artists where I shot on one setting for the entire show, and I've photographed other artists where I was constantly changing my ISO, aperture and shutter speed because of the changing lighting and effects. Your best bet is to take the leap towards shooting on manual so you can be ready for unexpected changes. Although cranking your ISO and getting a grainier image is forgivable for live music photography, a general rule of thumb is that it is better to underexpose your photos than to overexpose them. The reasoning is that it's harder to recover details in an overexposed photo where the highlights are blown out than to bring up the exposure and keep most of the detailing when your photo is underexposed. 5. Post Production Black & white is your friend! You can never know what kind of lighting/special effects will be present going into a show. I like to keep my concert photos as candid as possible by keeping editing to a minimum, only fixing up the colouring, lighting and clarity. Generally, I like to correct skin tones using the HSL sliders in Lightroom and spend most of my time trying to recover the details by playing with the highlights and shadows. If all else fails, don't be afraid to black and white your photo! Not only does it give a timeless effect but it's a shortcut to solving most of your colouring problems. See more of our concert photos here
0 Comments
Leave a Reply. |
 RSS Feed
